So I completed a self-supported cycle tour from Cambridge to Rome with some friends: 2,100 kilometres with 19,000 metres of climbing, over 18 days.
I wrote it up on the CTC Cambridge blog: start here.
Excerpt: So I completed a self-supported cycle tour from Cambridge to Rome with some friends: 2,100
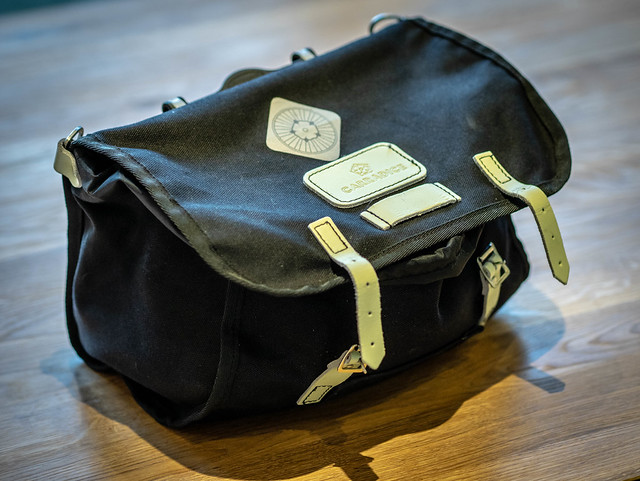
What’s in my Carradice?
Partly as a aide memoire, here’s a list of the things I always carry in my Carradice saddle bag. Some of this stuff may not be necessary for shorter rides, but I wouldn’t want to get used to riding light, now would I?
Extra stuff is added for very long rides (e.g. an extra inner tube and electrical items) and this list does not cover clothing.
I suppose it was during the ultrasound scan that I first realised something was really up. Here I was, having my bladder and kidneys scanned, as a result of two years, on and off, of what we Brits might term “waterworks problems”. We were chatting away (“Good drainage! — yes that looks fine” … small-talk like that) when the scanner reached my right kidney.
The second anniversary of the approval of ISO/IEC 29500 (aka OOXML) is upon us. The initial version of OOXML (Ecma 376 1st Edition) was rejected by ISO and IEC members in September 2007, and it was only after extensive revisions and a bitter standards war in the following months that a revised format was finally approved on April 2, 2008.
The key breakthrough of the revision process was the splitting of the specification into two variant versions, called “Strict” and “Transitional”. The National Bodies confined all the technologies they found unacceptable to the Transitional format and dictated text to be included in the standard intended to prohibit its further use:
I had to ride an audax in November to keep my RRtY attempt alive. With the month drawing to an end and reasonable weather in prospect and I chose the “Cambridge Markets”, one of Nick Wilkinson’s excellent series of permanent Audax routes from Cambridge.
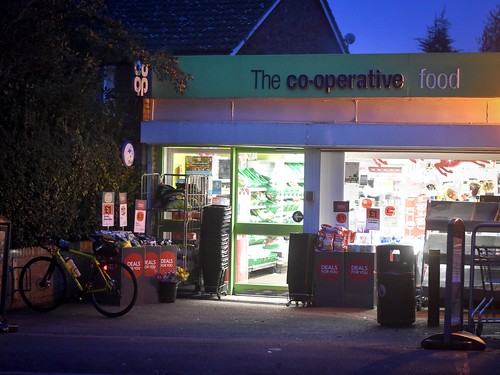
The Départ: Co-op in Girton
And so at 07:13 I found myself setting off from Girton through the Cambridge traffic, which was more than usually clogged because of the sinkhole in the centre of town. However, this did not impede my progress and before long I was at Quy ready to join the busy A1303 towards Newmarket. Because of the heavy rush hour traffic I turned on a large red rear flashing light, which felt – on an audax – mildly transgressive.